Unlock Fall Flavors: Your Guide to Homemade Apple Cider Ice Cream
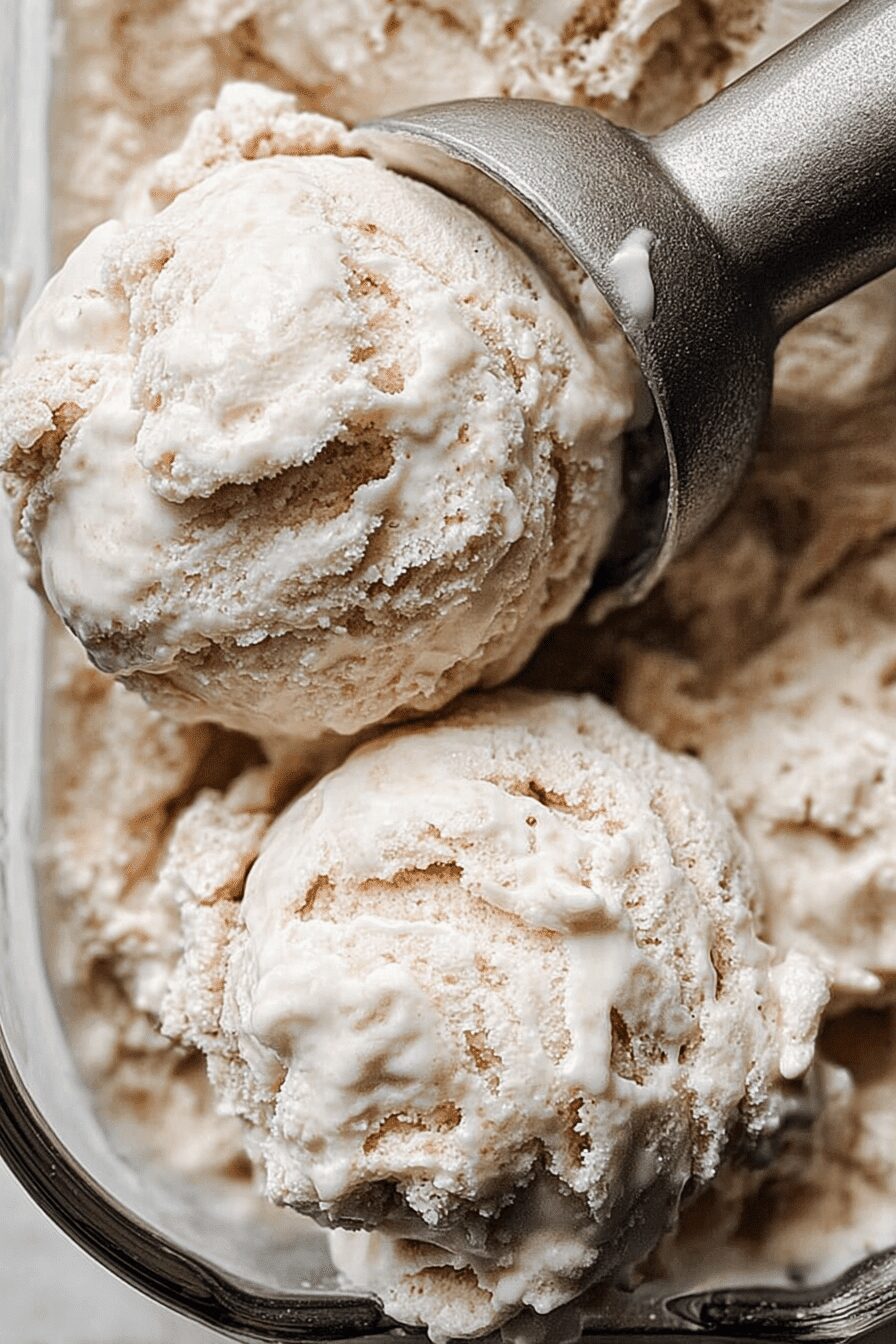
As autumn leaves paint the landscape in hues of crimson and gold, and the crisp air signals the arrival of sweater weather, there's an undeniable pull towards comforting flavors. While warm mugs of spiced cider or pumpkin pie often take center stage, why not embrace the season's bounty in a refreshingly new way? Imagine the vibrant tang of fresh apple cider, blended with creamy indulgence and a whisper of warm spices, all perfectly churned into a delightful frozen treat. Welcome to the wonderful world of homemade
apple cider ice cream – a seasonal sensation that’s surprisingly easy to make and utterly irresistible.
This unique dessert captures the very essence of fall, transforming your favorite autumnal beverage into a scoopable dream. Whether you’re a seasoned home cook looking for a new challenge or a beginner eager to impress, this guide will walk you through crafting the perfect batch of
spiced apple cider ice cream, proving that ice cream isn't just for summer.
Why Homemade Apple Cider Ice Cream is a Must-Try This Season
There's something truly special about creating desserts from scratch, and
apple cider ice cream is no exception. Beyond the sheer satisfaction of making something delicious with your own hands, there are several compelling reasons to whip up a batch this fall:
*
Unrivaled Flavor Profile: Unlike standard vanilla or chocolate, apple cider ice cream offers a dynamic taste experience. It combines the bright, slightly tart notes of quality apple cider with the luxurious richness of heavy cream, balanced by the comforting warmth of cinnamon and nutmeg. This complex profile evokes memories of autumn orchards and cozy evenings.
*
Seasonal Abundance: Fall is prime apple cider season! With a plethora of varieties available – from crisp Honeycrisp to sweet Fuji or tart Granny Smith blends – you have the perfect opportunity to experiment with different ciders to find your preferred flavor depth. Using fresh, local cider can significantly enhance the final taste.
*
Simple & Rewarding: Many assume ice cream making is complicated, but a basic apple cider ice cream recipe can be incredibly straightforward. With just a few core ingredients and minimal fuss, you can create a dessert that tastes gourmet. It’s an accessible project for anyone looking to add a touch of homemade magic to their fall repertoire.
*
A Unique Dessert Experience: While warm apple desserts are classics, a cold, creamy apple cider ice cream provides a delightful contrast. It's unexpected, refreshing, and yet still deeply comforting, making it a fantastic alternative or accompaniment to traditional fall treats. Plus, its vibrant flavor profile makes it a standout at any gathering.
The Essential Ingredients for Your Perfect Scoop
The beauty of a great
apple cider ice cream lies in the simplicity and quality of its components. Gathering the right ingredients is the first step towards achieving that perfect balance of tangy, sweet, and spicy.
Here’s what you’ll typically need:
*
Apple Cider: This is the star of the show! Opt for a high-quality, unfiltered apple cider for the most robust flavor. If you can find fresh-pressed cider from a local orchard, even better. While the context mentions Honeycrisp apple cider, feel free to experiment with blends that offer a good balance of sweetness and tartness. Avoid apple juice, as it lacks the complex depth and tartness of true cider. You might even consider reducing your cider slightly over low heat to concentrate its flavor before adding it to your base, intensifying that apple punch.
*
Heavy Cream: This provides the essential richness and creamy texture that makes ice cream so luxurious. Look for heavy whipping cream with at least 36% milk fat for the best results. Don't be tempted to substitute with half-and-half or milk, as it will result in a less creamy, more icy texture.
*
Granulated Sugar: Sugar sweetens the ice cream and also helps prevent large ice crystals from forming, contributing to a smoother texture. The exact amount can be adjusted slightly based on the sweetness of your apple cider and your personal preference.
*
Warm Fall Spices: Cinnamon and nutmeg are classic pairings with apple, enhancing the cider's natural warmth. A pinch of ground cloves or allspice can also be added for an extra layer of complexity. These spices don't just add flavor; they evoke that quintessential autumnal aroma that makes this dessert so comforting.
*
Optional: Egg Yolks (for a Custard Base): While some of the simplest recipes, particularly those designed for machines like the Ninja Creami, omit eggs for a quicker "no-cook" base (more on that later), a traditional custard base often includes egg yolks. These yolks contribute to an incredibly rich, silky-smooth texture, preventing iciness and adding body to the ice cream. If using, ensure they are tempered properly to avoid curdling.
Crafting Your Apple Cider Ice Cream: Step-by-Step Guide
Making homemade
apple cider ice cream can be adapted to suit your preferred method – from classic churned custard to quick no-cook versions. We'll outline a comprehensive approach that can be adjusted.
Method 1: The Classic Custard-Based Churn
This method, often considered the gold standard for rich, creamy ice cream, involves cooking an egg yolk-enriched custard base.
1.
Reduce the Cider (Optional but Recommended): For an intensified apple flavor, gently simmer 2 cups of apple cider in a saucepan over medium heat until it reduces to about 1 to 1.5 cups. This step concentrates the sugars and apple essence, making your ice cream even more flavorful. Let it cool.
2.
Combine & Heat: In a saucepan, whisk together the reduced apple cider and sugar. Heat over medium-low heat, stirring constantly, until the sugar fully dissolves. Do not boil.
3.
Temper the Yolks (if using): In a separate bowl, whisk 4-6 egg yolks until light yellow and smooth. Slowly drizzle about half of the warm cider mixture into the whisked egg yolks while continuously whisking. This "tempering" step gradually raises the temperature of the yolks, preventing them from scrambling when added to the hot liquid.
4.
Return to Pan & Thicken: Pour the tempered egg yolk mixture back into the saucepan with the remaining cider mixture. Cook over low heat, stirring constantly with a spatula or wooden spoon, until the mixture thickens enough to coat the back of a spoon (reaching about 175°F / 80°C). Do not boil.
5.
Add Cream & Spices: Remove from heat and stir in the heavy cream and your chosen fall spices (cinnamon, nutmeg).
6.
Chill Thoroughly: This is a crucial step! Transfer the mixture to an airtight container and refrigerate for at least 4 hours, or preferably overnight. Chilling the base completely ensures optimal churning and a smoother texture.
7.
Churn: Pour the well-chilled mixture into your ice cream maker and churn according to the manufacturer's instructions. This usually takes 20-30 minutes until it reaches a soft-serve consistency.
8.
Freeze: Transfer the soft ice cream to a freezer-safe container and freeze for at least 4-6 hours (or overnight) to allow it to firm up properly.
Method 2: The Quick No-Cook Base (Perfect for Ninja Creami Users)
If you own a
Ninja Creami machine or prefer a simpler, egg-free approach, a no-cook base is your go-to. This method emphasizes ease and relies on the churner for texture.
1.
Combine Ingredients: In a bowl or directly in your Ninja Creami pint, simply whisk together apple cider, heavy cream, sugar, and your desired spices (cinnamon, nutmeg). Ensure the sugar dissolves completely.
2.
Freeze: Pour the mixture into your Ninja Creami pint or other freezer-safe container and freeze for at least 24 hours, or until solid.
3.
Process/Churn: If using a Ninja Creami, follow the machine's instructions to process your frozen base. You might need to use the "lite ice cream" or "ice cream" function and possibly a "re-spin" for optimal creaminess. If using a traditional ice cream maker, you would churn this chilled mixture directly after mixing, similar to step 7 above.
4.
Enjoy: For best results with a Ninja Creami, enjoy immediately or store for later.
Elevating Your Apple Cider Ice Cream Experience
Once your
apple cider ice cream is perfectly churned and frozen, the fun doesn't stop there! There are countless ways to customize and serve this delightful dessert.
*
Topping Temptations:
*
Caramel Drizzle: A classic pairing, a warm caramel sauce provides a sweet, buttery counterpoint to the cider's tang.
*
Candied Pecans or Walnuts: Add a delightful crunch and nutty flavor.
*
Crumbled Gingersnaps: The spicy ginger complements the apple and cinnamon beautifully.
*
Fresh Apple Slices: A few thin slices of crisp apple provide textural contrast and reinforce the apple theme.
*
Whipped Cream: A dollop of fresh whipped cream is always a welcome addition.
*
Creative Pairings:
* Serve a scoop alongside a slice of warm apple pie or crumble for an ultimate apple dessert experience.
* Offer it with a warm brownie or blondie for a delicious hot-and-cold combination.
* For an adult treat, a drizzle of spiced rum or bourbon can elevate the flavors even further.
*
Customization Beyond Spices:
*
Apple Chunks: Fold in small, finely diced caramelized apple pieces during the last few minutes of churning for bursts of soft apple goodness.
*
Maple Syrup: Substitute some of the granulated sugar with pure maple syrup for a different kind of autumnal sweetness.
*
Pear or Cranberry Notes: Experiment with a splash of pear nectar or cranberry juice alongside the cider for a more complex fruit profile.
*
Storage Tips: Store your homemade
apple cider ice cream in an airtight container in the coldest part of your freezer. It's best enjoyed within 1-2 weeks for optimal flavor and texture, though it will remain edible for longer. To avoid freezer burn, press a piece of parchment paper or plastic wrap directly onto the surface of the ice cream before sealing the container.
Savor the Season, One Scoop at a Time
Homemade
apple cider ice cream is more than just a dessert; it's a celebration of autumn's unique bounty and a testament to the joy of simple, flavorful creations. Whether you opt for the rich complexity of a custard base or the effortless charm of a no-cook method, the result is a creamy, spiced, and utterly delightful treat that perfectly encapsulates the spirit of fall. So, gather your ingredients, fire up your ice cream maker (or Ninja Creami!), and get ready to unlock a whole new dimension of seasonal flavor. Your taste buds, and your family, will thank you for this unforgettable autumnal indulgence.